Voice Management Guide
The Voice Management user guide
Finding recordings of conversations
Enable recordings
To enable call recording, you must select at least one of the following options based on your needs:
- Operators: Enable the “Record communication (incoming/outgoing)” option. This allows all communications related to an operator, whether incoming or outgoing, to be recorded.
- Groups: Check the boxes for “Record incoming communications” and/or “Record outgoing communications.” These options enable the recording of conversations within a group.
- Routings: Enable the “Recording” option to record calls forwarded to an external number.
Call Transfer Recording Rules
Transfer to a Group: When transferring a call to a group, the recording behavior depends on the receiving group’s settings:
- If recording is enabled for the receiving group, it will automatically continue after the transfer.
- If recording is disabled for the receiving group, the recording will stop as soon as the call is transferred.
Transfer to a step: When transferring a call to an IVR step, the behavior varies depending on the type of category:
- For a Group:
- If recording is enabled, it will continue after the transfer.
- If recording is disabled, it will stop.
- For Routing:
- If the “Recording” checkbox is enabled in the routing settings, the recording will continue.
- If the “Recording” checkbox is not enabled, the recording will stop immediately.
Transfer to an Operator, a Centrex, an External Number, or a Contact: When a call is transferred to an operator, a Centrex, an external number, or a contact, the recording continues by default.
Post-Transfer Audio Recording Restrictions
Within the Group > Transfers tab, the “Prohibit audio recordings post-transfer” section allows you to easily manage restrictions on recordings after a call transfer.
This feature uses checkboxes to enable or disable restrictions based on the type of transfer involved:
- Transfers to an Operator: When the checkbox is selected, the recording automatically stops after a transfer to an operator.
- Transfers to a Contact or External Number: If the checkbox is selected, the recording stops after a transfer to a contact or an external number.
- Transfers to Centrex Accounts or Groups: When the checkbox is selected, the recording is terminated after a transfer to Centrex accounts or groups.
Find recordings
Each call has a unique ID. This will allow you to find it in the Voice Management statistics, so as to access all of the information concerning the call.
You can find your sounds via:
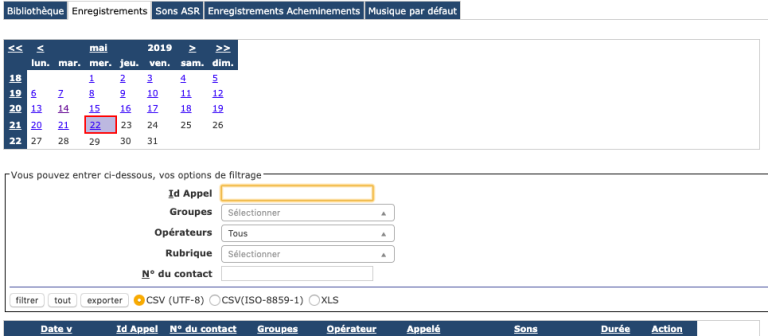
Statistics: in the “stats” tab you can find all of your cold statistics from your contact centre, as well as all of the recordings of the various calls.
Sounds: in the “sounds” tab”, under “recordings”, you will be able to sort calls, in particular according to their ID, in order to find the one you want to listen to again.
As an administrator, you can request the ability to delete recordings. This is a permission assigned by Axialys. If, as an administrator, you do not have the ability to delete a message, you can request this permission from our Axialys team.
By default, call recordings are saved on a rolling 30-day basis. To increase this time period, please contact your commercial contact.
If you are looking for the recording of a call that took place within a deleted group or with a deleted operator, you can only search for it via the date of the recording or via the call ID.
- Table of Contents