Voice Management Guide
The Voice Management user guide
- To start
- Prerequisite
- Home
- Administrator
- Importing sounds to your IVR
- Creating a routing
- Importing a directory
- Prohibit transfers to certain numbers
- Creation of a skill group
- Creation of an operator toolbar
- Gestion of an operator
- Creation of an IVR
- Satisfaction survey
- Campaign
- Webcallback
- Link WebCallBack
- Generating a WebCallBack link
- Gestion of a supervisor
- SMS service
- SMS in the operator toolbar
- SMS in the operator toolbar
- Statistics
- Operator
- Supervisor
- Technical side
- API
- SSO authentification
- Call recording
- Integration
- Application setup (Microsoft Dynamics)
- easiware integration
- Salesforce
- Zendesk
Dynamics 365 canal integration environment
1.Configuration of dynamics
The application is available with Customer Service workspace and Omnichannel for Customer Service.
Settings for Microsoft Dynamics 365
- Table des matières
To start with, please provide Axialys with the instance used so that we can configure it properly on our side (otherwise, the connector will not be able to initialise).
1.Connexion
To start, please go to your Microsoft Dynamics interface.
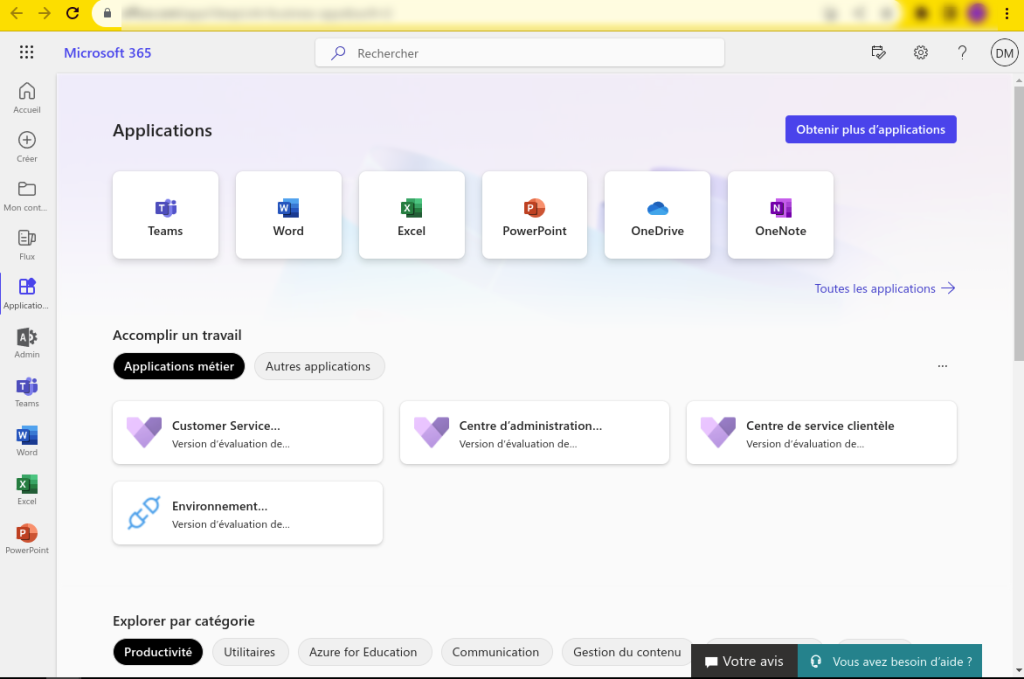
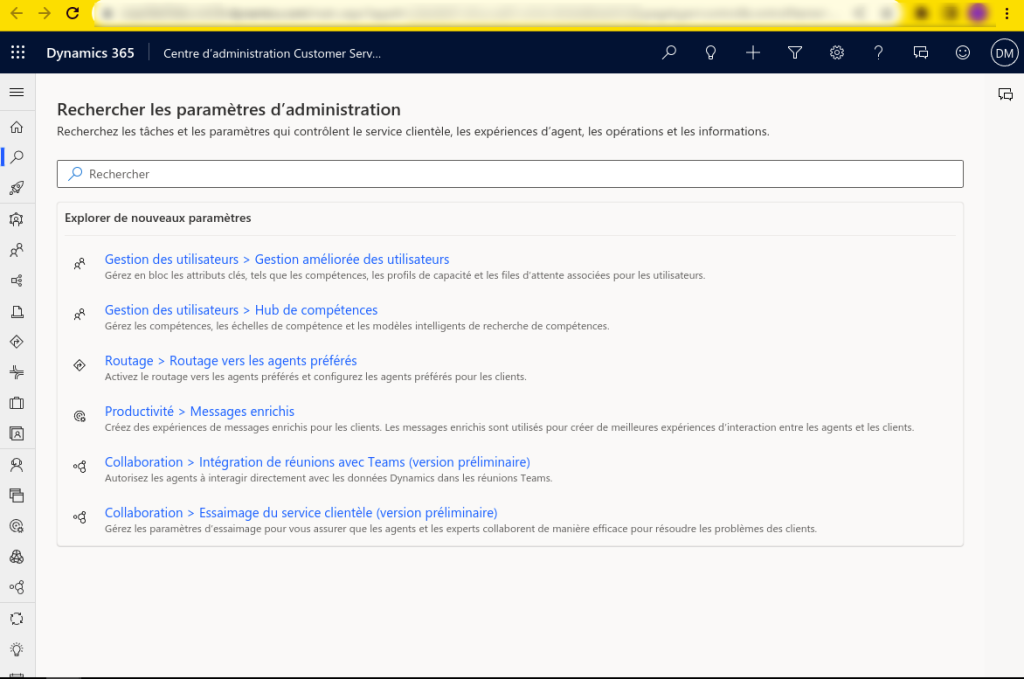
Once you’re on the home page, go to the Customer Service admin centre.
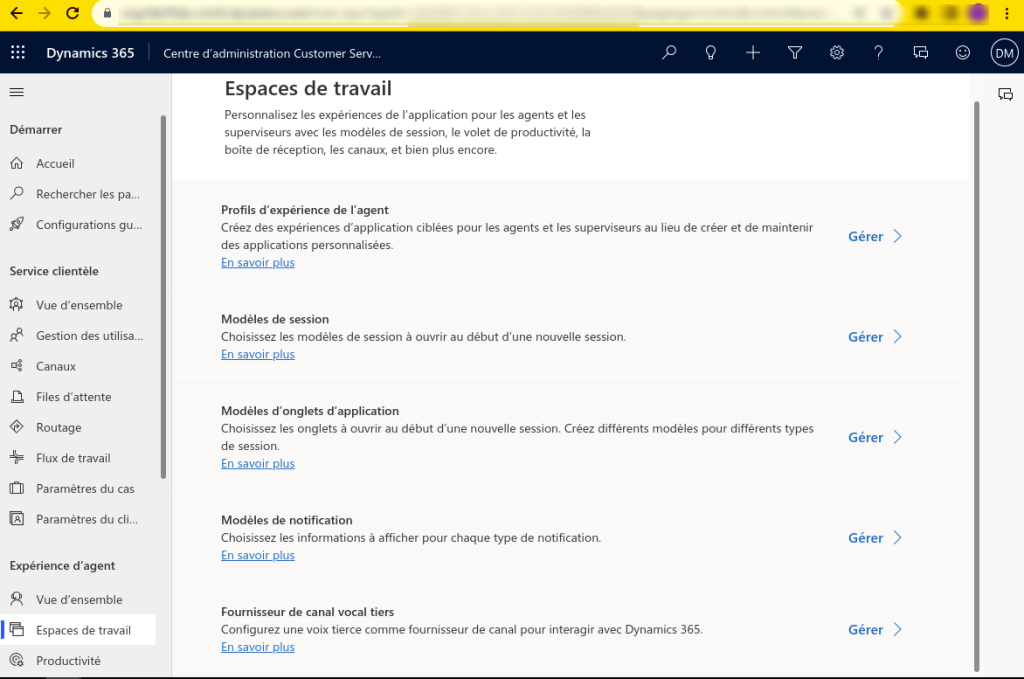
2. Workspace
All the settings are made in the workspace. First go to the third-party voice channel provider.
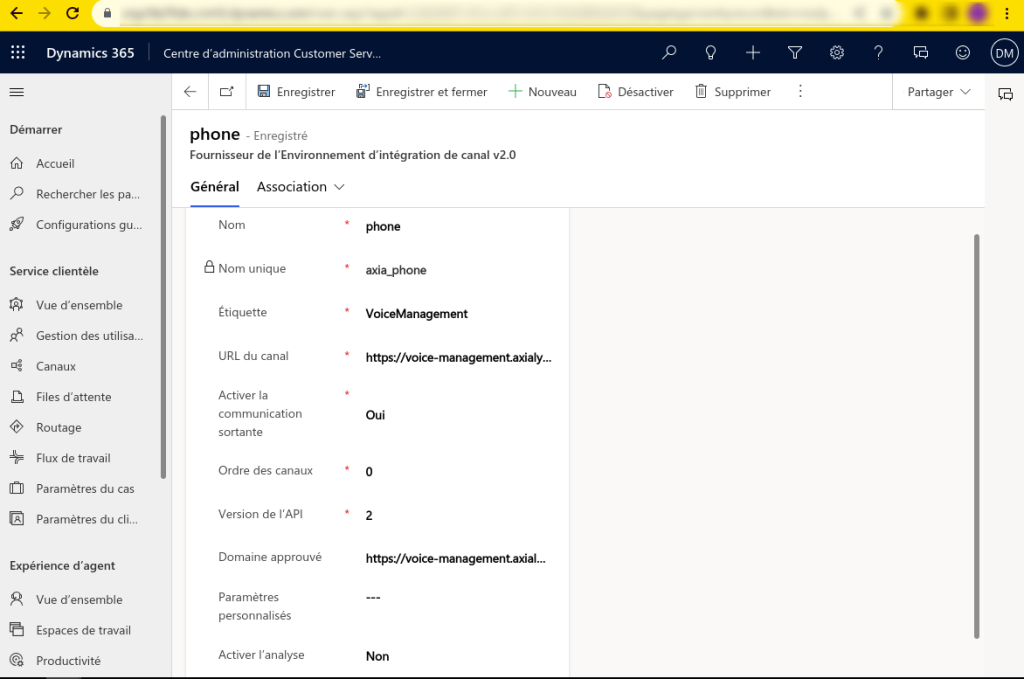
Once in the third-party voice channel provider, fill in the v2.0 Channel Integration Environment provider. In the various fields to be filled in we have :
name: name of the channel provider
unique name: unique identifier in the format <[a-zA-Z0-9]{3,8}>_.
label: title of the widget window
enable outgoing communication : YES
API version: 2
Approved domain: https://voice-management.axialys.com (note: be sure to write it as shown: with https and without a slash at the end)
Custom settings: not required
Enable analysis: no impact
In the event of a configuration problem, no error will be returned, although you may get an error message telling you to try again later.
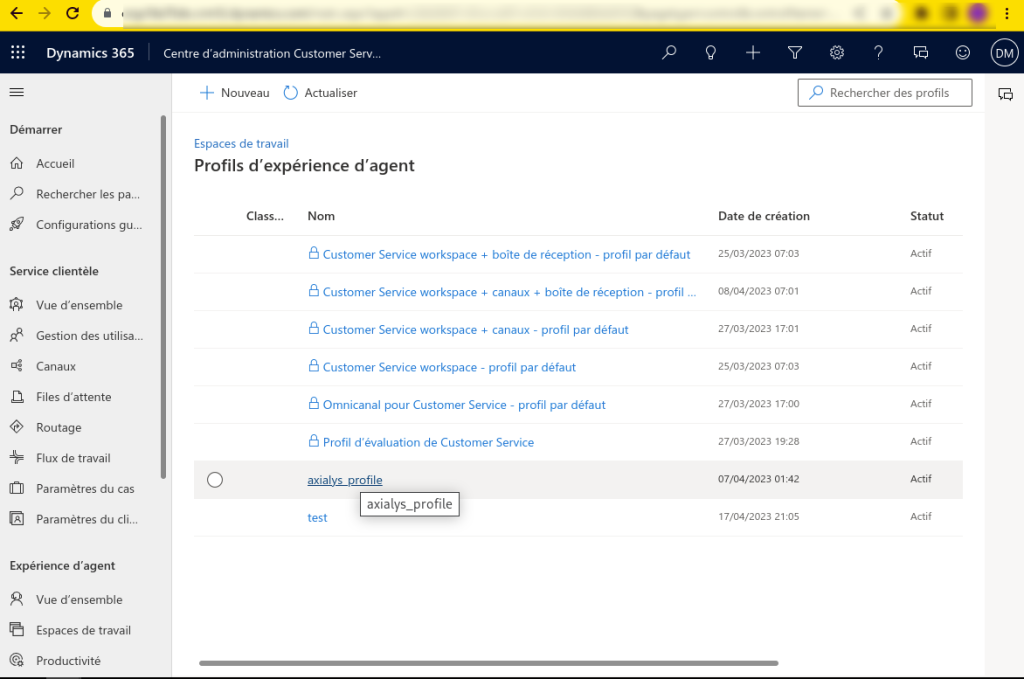
4. Agent experience profile
Then return to the workspace menu and select Agent experience profiles. You can then create a new profile or modify an existing one.
5. Associate with the channel provider created previously
Associate the profile with the channel provider, in the channel provider section.

Select the supplier you created earlier.
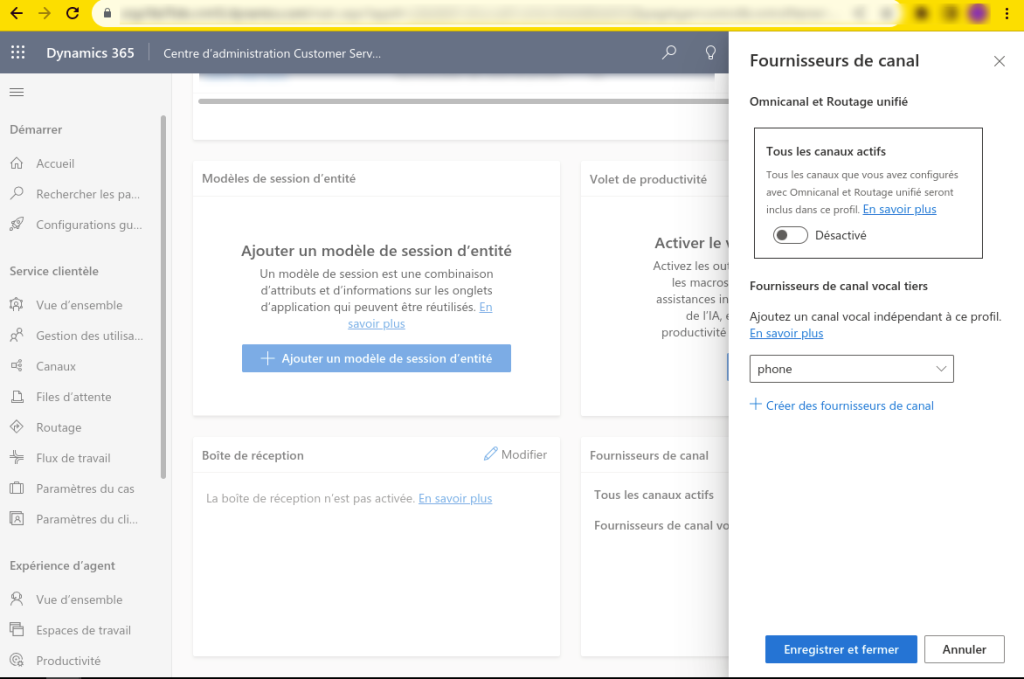
Finally, click on edit in the users section, to add the different people who are supposed to access our channel provider.

Axialys settings
Fill in the client instance in the :
cti_gestion.auth_saml_v2.auth_domain