Voice Management Guide
The Voice Management user guide
- To start
- Prerequisite
- Home
- Administrator
- Importing sounds to your IVR
- Creating a routing
- Importing a directory
- Prohibit transfers to certain numbers
- Creation of a skill group
- Creation of an operator toolbar
- Gestion of an operator
- Creation of an IVR
- Satisfaction survey
- Campaign
- Webcallback
- Link WebCallBack
- Generating a WebCallBack link
- Gestion of a supervisor
- SMS service
- SMS in the operator toolbar
- SMS in the operator toolbar
- Statistics
- Operator
- Supervisor
- Technical side
- API
- SSO authentification
- Call recording
- Integration
- Application setup (Microsoft Dynamics)
- easiware integration
- Salesforce
- Zendesk
Setting up IVR schedules
To set up a schedule, click on “new step”. You will then be able to specify:
- Name: the name will appear on the step once created
- Description: you can re-enter the name of the step or provide a description
Language: select the language for your IVR - Voice: choose the tone of the voice
- Once your step has been created, click on “add a stage”. You have a list of all of the stages that can be added to your IVR, so as to configure it in line with your requirements.
- To add a schedule, please select “Working hours”. The first block allows you to specify the default step to which the call will be transferred. This is the block in which you will decide the step to which calls should be transferred when you are closed.

In “Default step”, select the step to which to transfer the call from the drop-down list.
“Holidays”: allows you to define the holidays in your country so that calls are automatically forwarded to the step chosen above.
The second block allows you to set up opening hours and to specify the step to which to transfer calls when your contact centre is open.
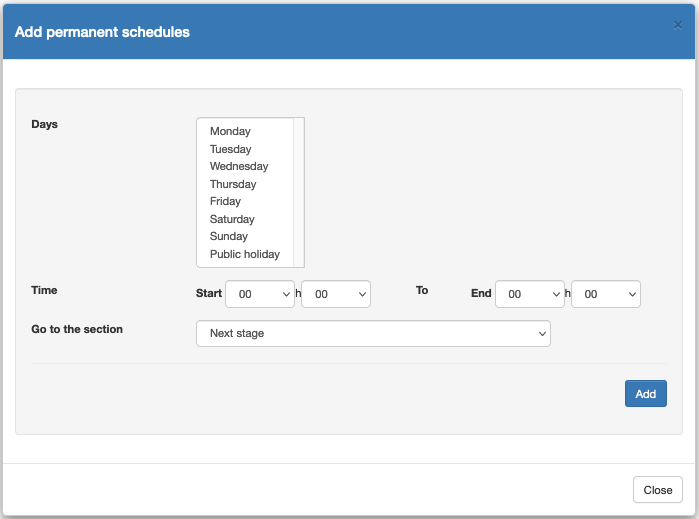
In the “Fixed working hours” tab, click on “Add fixed working hours” and select the days on which you are open. You can select several successive days. Specify your opening time and your closing time, then choose the step to which to transfer calls via the drop-down menu, and click on “Add”.
You can delete these working hours at any time by putting them in the rubbish bin, and create new ones.
During your working hours, you may be forced to close by way of an exception, for an entire day or for several hours. In this case, go to the “Exceptional days” tab and click on “Add exceptional days”.
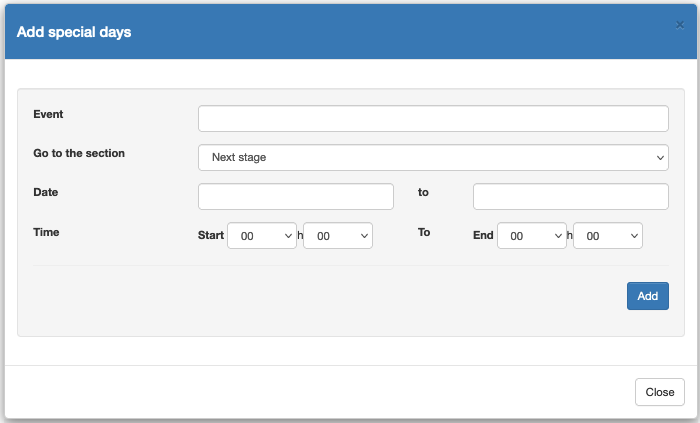
Assign a name to this closure via the “Event” field, choose the step to which to transfer calls via the drop-down menu (a message explaining the exceptional closure, for example), indicate the closure period and the respective hours. If your exceptional closure is for just 1 hour, put the same date in both “Date” fields, along with the time at which the closure will take place.
Note: Setting up an exceptional closure day cancels the fixed configuration for the day.
Tip: When you schedule an exceptional closure, this will be implemented and deleted automatically. You can therefore plan in advance certain days on which you will be closed during working hours.
- Table of Contents