Voice Management Guide
The Voice Management user guide
- To start
- Prerequisite
- Home
- Administrator
- Importing sounds to your IVR
- Creating a routing
- Importing a directory
- Prohibit transfers to certain numbers
- Creation of a skill group
- Creation of an operator toolbar
- Gestion of an operator
- Creation of an IVR
- Satisfaction survey
- Campaign
- Webcallback
- Link WebCallBack
- Generating a WebCallBack link
- Gestion of a supervisor
- SMS service
- SMS in the operator toolbar
- SMS in the operator toolbar
- Statistics
- Operator
- Supervisor
- Technical side
- API
- SSO authentification
- Call recording
- Integration
- Application setup (Microsoft Dynamics)
- easiware integration
- Salesforce
- Zendesk
SMS configuration
1 - Creation of template and variable
Operator Access Admin:
You can assign several Access Admin permissions to the operator. To do so, go directly to your administrator interface, “Operators” tab.
Can write SMS’ freely: By assigning the operator the Access Admin to edit SMS’, the operator will be able to edit the SMS that is sent to him.
Can use SMS templates: By assigning the operator the Access Admin to use a template, he/she will be able to access all of the pre-saved templates by clicking on “::” in the operator toolbar.
Must confirm before sending the SMS: Enables you to request that the operator validate the sending of the SMS prior to sending it.
Editing pre-saved SMS’:
If you have subscribed to the Axialys SMS service, a new tab is accessible in your Voice Management administrator interface.
In the “SMS” tab, you will be able to configure the templates that the operators will use:
You can view the list of all of your messages that you have already pre-saved. To apply changes to the list, click on “Change” at the desired row.
To create a new template:
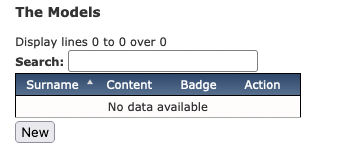
A template will enable the operator to choose an entire message to send. With each selection of a template, this will replace the first one.
Click on “New”. You must fill in several fields:
The title: the title will enable the operator to recognise the message to be selected
The body of the SMS: the body of the SMS that will be sent
The badge: shortcut for the operator to send the message
Then click on “Validate”
To create a new variable:
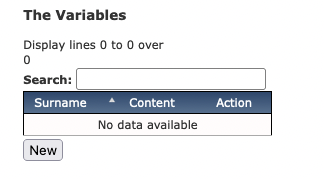
A variable allows the operator to add a part of a phrase.
For example: If he must finish his emails with a “Axialys team” , you can configure a shortcut.
Click on “New”
You must fill multiple fields:
The name: The name allows the operator to recognize the message to be selected
The content: The content of the variable to add to the sms
Then click on “apply”
-Other parameters:
From the invoice of your SMS Service, you have the possibility to specify, the invoicing account, and the source of emails sent.
Chose the “Group Invoicing”
2 – Sender customisation
Configuration on the administration interface:
In your administrative interface of your Voice Management, go to “Groups” and choose a group.
You have the possibility to customize the sender according to the group
through which the SMS will be sent by configuring the field
“Customizing the SMS sender”. The operator can then choose to
corresponding group and the SMS sender will be the chosen configuration.
Warning: Please name your sender respecting the following limitations:
Must not exceed 15 digits (may vary by country)
Must not exceed 11 letters or 11 numbers/letters (may vary by country)
No accents
No special characters
On the operator panel:
When sending the SMS, the operator has the option of choosing the group through which the SMS will be sent. This allows not to have the same sender if you have several brands. If the “Customization of the SMS sender” field is not filled in, then there will be no personalization of the sender.
- Table of Contents
SMS in the operator toolbar
Requirements
The “SMS” button appears on your toolbar. You can only use this feature if you have subscribed to the Axialys SMS service. To subscribe to this service, please contact your sales representative.
1 - Use the SMS on the operator toolbar
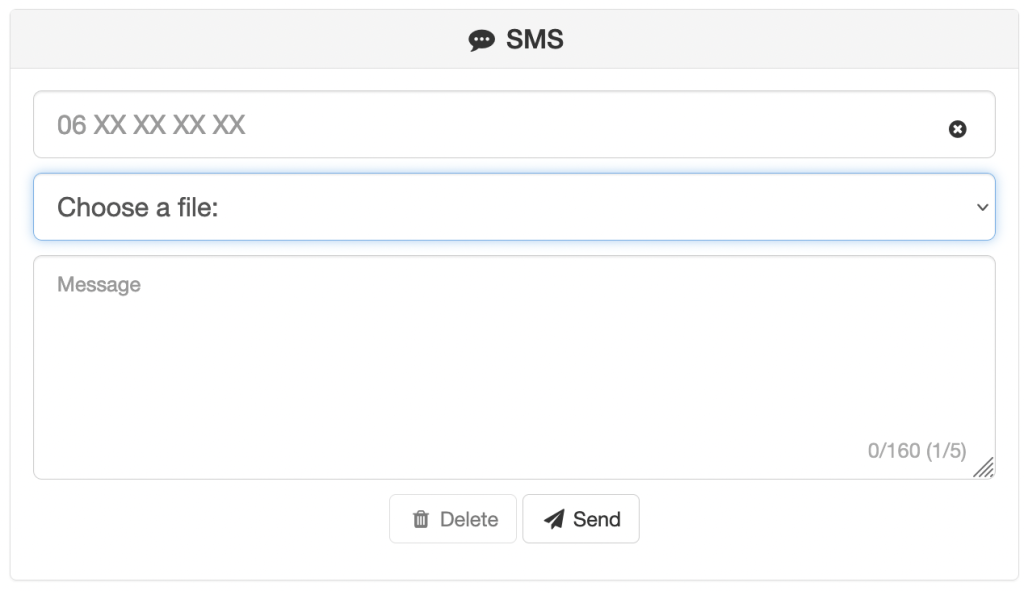
The “SMS” button on your toolbar allows you to open or close the SMS tab.
This consists of a “recipient” field, as well as a field for the body of the SMS.
The recipient:
This field can be filled in various ways:
If the telephone number of the contact online is a mobile phone number, the recipient field will be filled automatically once you click on the SMS tab.
By clicking on the mobile phone number directly within your toolbar history
By entering the number directly via the keypad

The body of the message:
Depending on the Access Admin authorisation that has been allocated to you, you can:
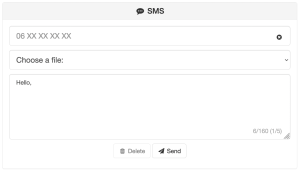
Write your SMS
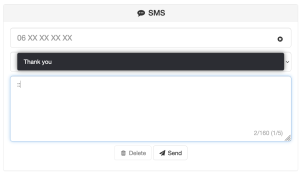
Send pre-saved SMS: The pre-saved SMS can be edited directly in the administrator interface. In order to access it, type two colons (::). A list of messages will be made available to you for insertion. Click on the desired message to display it.
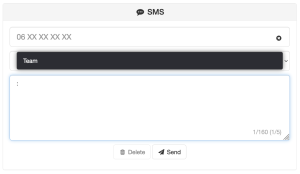
Set up Variables. To do so, press “:” to display the list of variables, or :[Name of the variable]
Click on “Send” to send the message or on “Delete” to delete the body of the SMS. A message validating the sending of the message can be configured.
The detection of a passage from a standard SMS to an extended SMS is automatic. A standard SMS consists of a maximum of 160 characters while an extended SMS (including special characters) consists of 70 characters. A character count is visible at the bottom right.
- Table of Contents